
YouTube 影片筆記
在 Rhino 從零建編織墜飾並保留曲線對齊除錯過程
原片標題:Weaving Pendant Jewelry CAD Design Tutorial 3D Modeling with Rhino 3D #232
原片說明
In this Rhino 3D modeling tutorial, I would like to share with you on how to design for weaving structure and turn it into a pendant.
#RhinoTutorial #JewelryCADDesign #PJChenDesign
👉Free Webinar "6 Ways to Transform 2D image to 3D Models with Rhino 3D": https://cad.pjchendesign.com/live-webinar-registration--5550b
👉Free Webinar "3 Tips to Boost Your Jewelry 3D Modeling Skill": https://cad.pjchendesign.com/evergreen-OR
👉 Signup Newsletter to download the stone file at https://mailchi.mp/f3d9b32b0552/stone
👉 RHINO 3D Online Courses: www.PJChenDesign.com
✰ SubD Modeling for Jewelry Design with Rhino 7 https://bit.ly/3hbAuGQ
✰ Jewelry CAD Masterclass- https://bit.ly/3rlVU7m
✰ Rhino 3D Stone Setting 3D Modeling- https://bit.ly/3rhOlyl
✰ Jewelry CAD Design Clasp 3D Modeling- https://bit.ly/37DOV1y
✌Click on "Thanks" button under the video to support me on improving and grow the channel.
👉 Stone Setting Playlist- https://bit.ly/38oR0hf
👉 Most Common Questions Playlist- https://bit.ly/3pjGkqL
👉 Rhino 3D for Beginner- https://bit.ly/34zZG3e
👉SOCIAL LINKS
✩ SUBSCRIBE: https://goo.gl/MJ4ExU
✩ LinkedIn: https://bit.ly/37CB5fX
✩ INSTAGRAM: https://goo.gl/e3SuF5
✩ FACEBOOK: https://goo.gl/QNuE2a
✩ WEBSITE: https://www.pjchendesign.com
✩ SIGNUP NEWS LETTER: https://goo.gl/2orjKi
All business inquires: [email protected]
★☆★ If you found this video helpful, help me to spread the word by liking or commenting. It helps me to reach more people and allow me to create more videos!eate more videos!
0:00 Introduction
0:44 Rectangle - conic corners
1:02 Align Centers
1:09 Rectangle:Center, Corner
1:20 Explode
2:03 Mirror
4:08 Align Horizontal Centers
4:17 Align Vertical Centers
4:39 Pipe
5:25 Copy
7:47 ArrayLinear
8:11 Linear Array
8:38 Boolean Union
8:56 Extrude Planar Curve Straight
9:06 Boolean intersection
9:34 Move
9:53 Sweep 1 Rail
10:11 Project ToCPlane
我原本以為編織結構在 3D 裡就是拉一拉、轉一轉就好,結果 PJ Chen 光是把四條曲線對齊到「峰對峰」就重做了兩次,還直接說 divided 在這邊根本不準。這種把錯誤留在影片裡的教學,反而讓人敢跟著做。這支是在 Rhino 裡從零蓋出一個編織墜飾,從畫邊界一路做到布林交集。

影片時間軸
- 00:40用圓角矩形畫出墜飾邊界,對齊到原點
- 01:29把參考線重建為 13 點、3 階曲線,開始交錯
- 03:16發現端點沒對到峰,改用控制點手動修正
- 04:33用 0.5 毫米圓管測試編織有沒有正確穿插
- 05:32掃掠出第一條金屬線斷面
- 07:45線性陣列複製六條,刪掉多出來的
- 08:36布林聯集成單一實體,再用邊界曲線做交集
- 09:51掃掠墜頭,投影曲線修正失誤後收尾

曲線對齊才是整支的重點
前面二十幾分鐘幾乎都花在把曲線擺到對的位置。PJ Chen 一開始用 divided 等分,後來發現這樣對不到曲線的峰,乾脆回頭開控制點一個一個搬,還把這段錯誤留著不剪。老實說這段很拖,但這正是編織會不會成功的地方,跳過就會做出穿不過去的模型。

先驗證再複製
他沒有急著陣列,而是先 pipe 一條 0.5 毫米的圓管,轉到算圖視圖確認前後穿插正確,才繼續往下做。這個順序很關鍵,因為一旦複製六份才發現錯,就得全部重來。這種「先做一條看看」的習慣,比任何快捷鍵都值得學。
留錯給你看
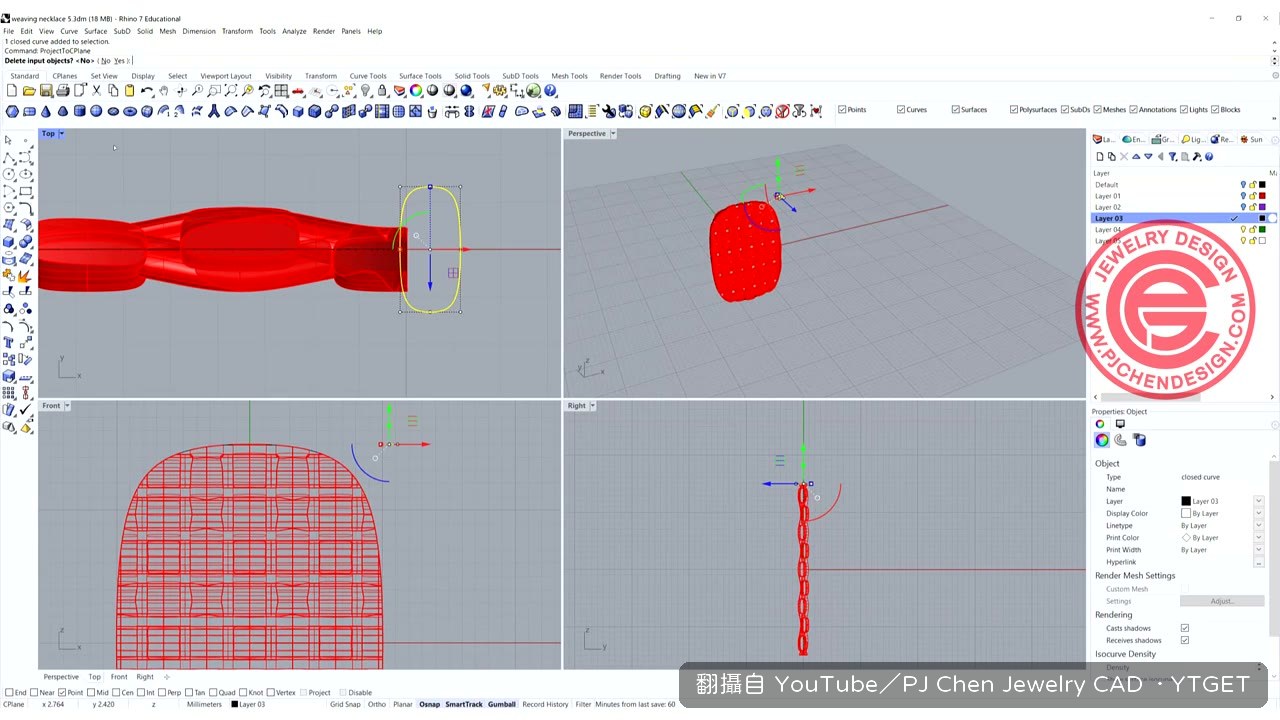
掃掠墜頭時他的曲線根本不在正確平面上,他沒重錄,直接示範用 project 把曲線壓回 C-plane 再掃一次。這種失誤在實際建模裡太常見,能看到怎麼補救,比看一個完美流程更有用。
值得下載嗎:值得,特別是如果你已經會基本指令但卡在編織結構的對齊邏輯,這支的除錯過程比成品更有參考價值。
覺得這篇筆記有幫助嗎?